

Key Takeaways
What kitchen ingredients actually do to hair
Hair is primarily composed of a protein called keratin, covered by a layered cuticle structure. When the cuticle is lifted or damaged (by heat styling, chemical processing, or environmental exposure), hair feels rough, looks dull, and breaks more easily. Most conditioning treatments, including DIY masks, work by temporarily smoothing the cuticle or filling surface gaps with fatty acids or proteins.
This is a surface effect, not a structural repair. No home mask rebuilds damaged bonds inside the cortex the way professional bonding treatments do. That distinction matters when setting expectations: a kitchen mask can make hair look and feel noticeably better, but it does not reverse chronic damage.
For a broader look at which natural swaps hold up under scrutiny and which ones disappoint, see our guide to natural beauty swaps.
Cost-per-use thinking for DIY masks
A single egg, a tablespoon of honey, and a teaspoon of olive oil together cost well under a dollar per application. Compare that to the cost per use of a salon-brand treatment and the savings are real. The main variable is your time for mixing and applying, which runs about ten minutes.
What you will need
Gather your tools and ingredients before you start. Having everything on hand means you are not leaving the mask on longer than planned while searching for a comb.
What you will need
Wide-tooth comb
Distributes the mask evenly from roots to ends without snagging wet, fragile hair.
Shower cap or plastic wrap
Traps heat and prevents dripping while the mask sits on hair.
Kitchen scale or measuring spoons
Keeps ingredient ratios consistent so results are repeatable.
Old towel
Protects shoulders and clothing from drips during application and rinsing.
Step-by-step instructions
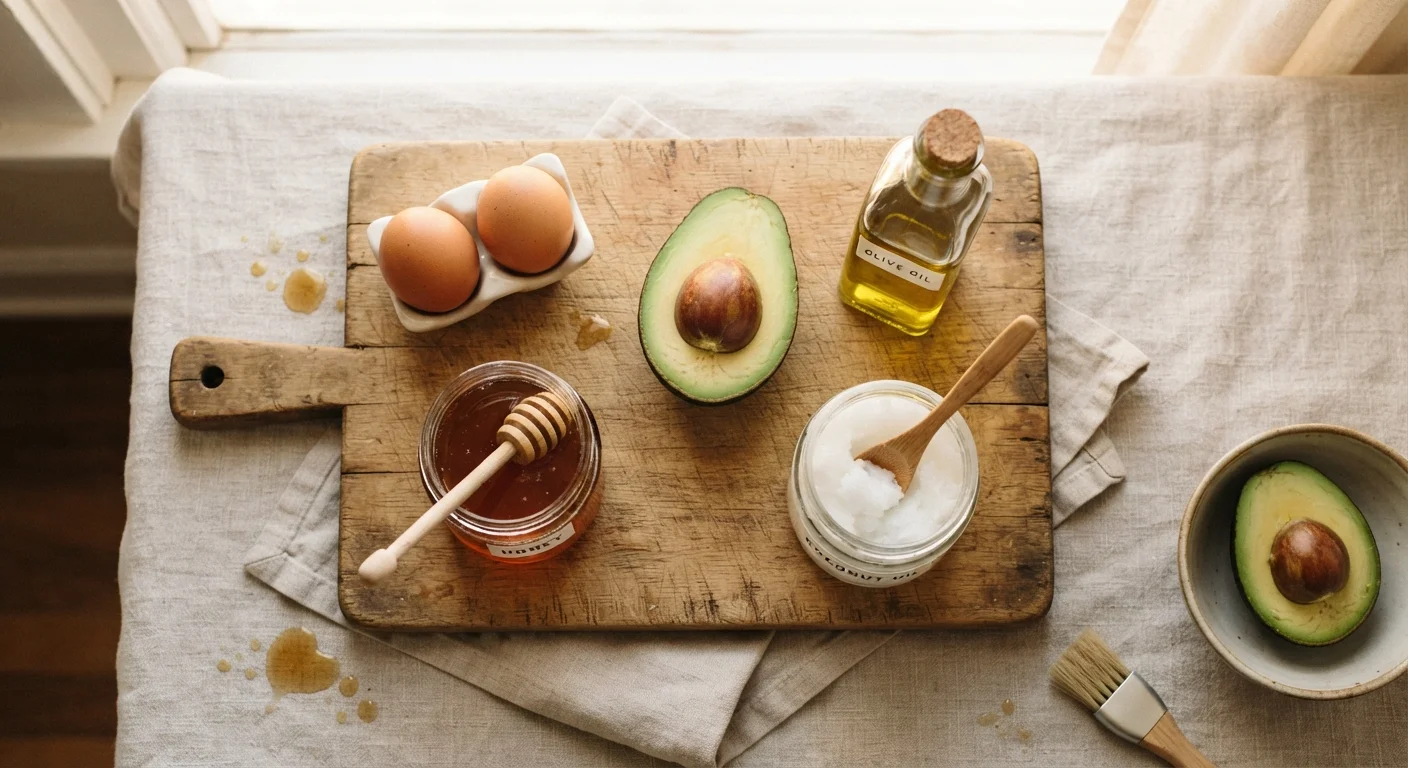
Choose an ingredient matched to your hair's needs
Different pantry staples address different concerns. Here is what the research and cosmetic chemistry literature generally support:
- Honey (humectant): draws moisture from the air into the hair shaft. Works well for dry or dull hair. Use raw honey thinned with a small amount of warm water so it spreads evenly.
- Eggs (protein): the protein content in egg whites and yolks can temporarily reinforce the outer cuticle layer of hair that has been weakened by heat or chemical processing. Best for fragile or over-processed hair.
- Olive oil or coconut oil (emollient): both contain fatty acids that penetrate the hair shaft to a degree, reducing water absorption-related swelling that causes frizz. Coconut oil, specifically, has been studied for its lauric acid content, which has a molecular structure small enough to enter the cortex. Better suited to medium-to-coarse, dry, or curly hair. Fine hair can find these oils heavy.
- Avocado (emollient and fatty acids): similar conditioning effect to oils, with added oleic acid. Works well on thick or dry hair.
- Apple cider vinegar (diluted): not a conditioning ingredient, but a rinse at roughly 1 part vinegar to 4 parts water can smooth the cuticle and add temporary shine by adjusting surface pH after masking.
Mix your mask and do a strand test
Combine your chosen ingredients in a clean bowl. Keep quantities proportional: roughly 2 tablespoons of a fatty ingredient (oil, avocado) per application is usually enough for shoulder-length hair. Add a tablespoon of honey if you want humectant effects alongside conditioning.
Before applying to all of your hair, take a small section from underneath, apply the mask, wait the intended time, then rinse and assess. Look for softness without excess greasiness or any unusual texture change. This step takes five minutes and avoids a full-head mistake.
Apply to clean or damp hair, working from mid-length to ends
Shampoo your hair first if there is significant product buildup, which can block the mask from contacting the hair shaft. Otherwise, slightly damp hair from a water mist is fine. Start applying the mask at mid-length, where hair is older and typically more porous, then work toward the ends. Apply to the scalp only if the recipe is specifically scalp-safe (honey and diluted vinegar rinses are; straight oil on the scalp is generally not recommended for those prone to oiliness).
Use a wide-tooth comb to distribute the mask evenly, then gather hair under a shower cap.
Time the mask correctly and rinse thoroughly
Fifteen to thirty minutes is sufficient for most kitchen masks. Leaving an oil-based mask on overnight does not significantly improve results and increases the risk of residue buildup and scalp congestion. Rinse with cool or lukewarm water until the water runs clear. A small amount of diluted shampoo on the lengths (not scraped into the scalp) helps remove oil residue without stripping.
Assess results and set a sensible frequency
Hair that feels softer and looks shinier after one use is responding well. Hair that feels heavy, limp, or coated after rinsing may be experiencing buildup. Fine hair usually does best with honey-based masks used no more than once every two weeks. Coarser, drier, or curly hair can typically tolerate oil-based masks once a week without buildup problems. Protein masks (egg-based) should not be used more than once every two to three weeks; too much protein can leave hair feeling stiff and prone to breakage.
Common mistakes and how to avoid them
Oil overload is the most frequent problem. Applying too much oil, or applying it directly to an already-oily scalp, leaves hair limp and requires multiple washes to fix. A small amount, focused on mid-lengths and ends, is almost always enough.
Protein overload is less discussed but just as real. Using egg or protein-heavy masks more than once a week on hair that is not severely damaged can make strands feel wiry and brittle. If your hair feels stiffer than usual after a mask, switch to a moisture-focused recipe (honey or avocado) for the next few weeks.
Residue from inadequate rinsing shows up as dull, sticky-feeling hair. Rinse longer than you think you need to, and check a small section by feel before stepping out of the shower.
Scalp irritation is a real risk
Even food-safe ingredients can cause contact dermatitis when applied to the scalp. Always do a patch test on your inner arm 24 hours before applying any new mask to your head. If you experience itching, redness, or swelling, rinse immediately and avoid that ingredient going forward. People with known food allergies should be especially cautious: egg or nut-based ingredients can trigger reactions on sensitive skin.