

Key Takeaways
Summary
28 items · 30 to 60 minutes to assemble; 15 minutes every 6 months to review
Why most first-aid kits fall short
Many families own a first-aid kit. Fewer have one that works when they actually reach for it. Bandages run out after a summer of scraped knees. Antiseptic wipes dry up. Medications expire. The kit gets moved to a shelf nobody can find in a hurry.
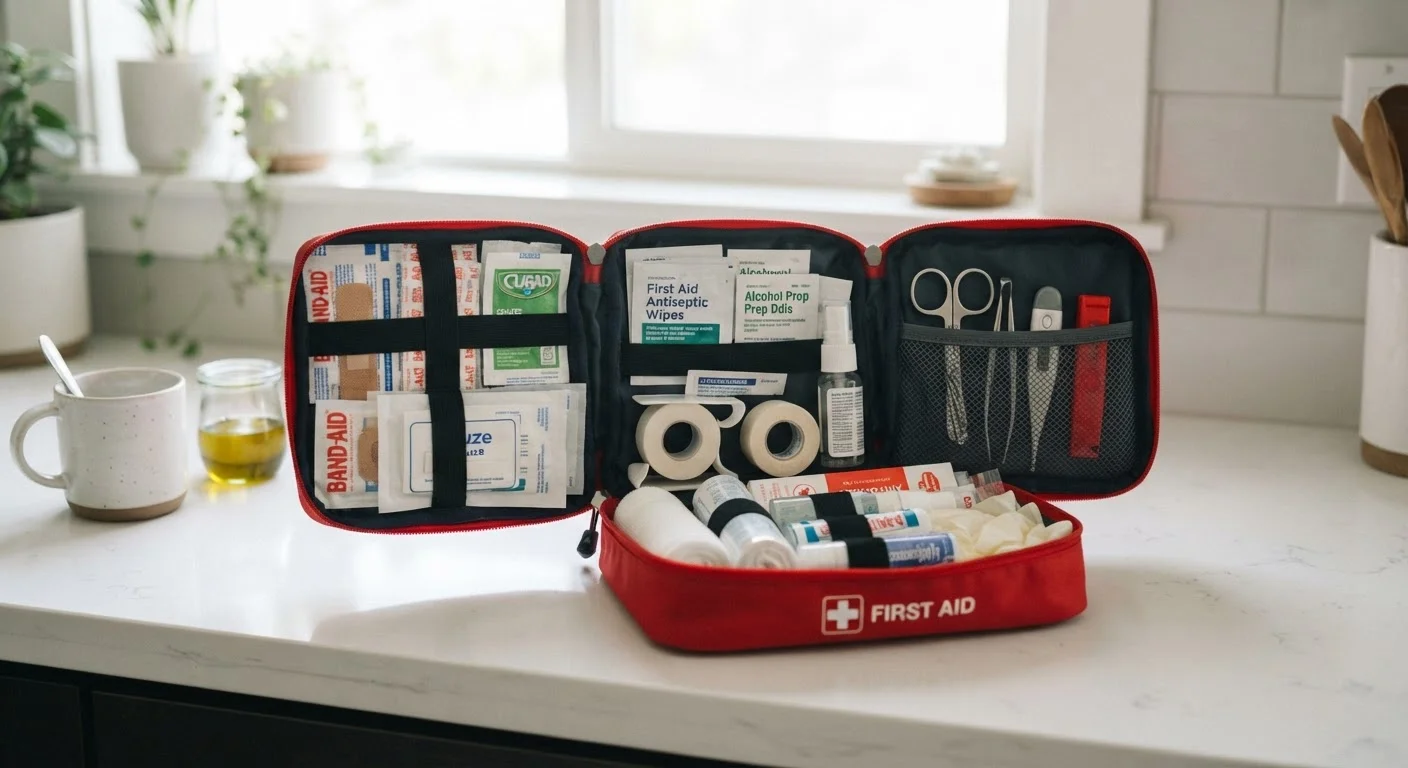
This checklist is designed to help you build and maintain a kit that holds up under real household conditions, without spending more than you need to. A solid kit covers everyday minor injuries and buys you time and calm while you decide whether a situation needs professional care. For help making that call, see our guide on when to go to urgent care versus the emergency room.
This article provides general health information and is not a substitute for medical advice. Always contact a healthcare professional for injuries or symptoms that concern you.
What you need and why
The items below are organized into four groups. Work through each one when building your kit, then use the same list every six months to audit what needs replacing.
Wound care
Over-the-counter medications
Tools and equipment
Emergency information
A few notes on the list. Over-the-counter medications should be stored in their original containers with dosage information intact. Never guess at dosages for children; follow the labeling or ask a pharmacist. If any household member has a known severe allergy, an epinephrine auto-injector prescribed by their doctor belongs in this kit, not a general antihistamine alone.
Do not delay care for serious injuries
A first-aid kit is meant for minor injuries and initial stabilization, not as a replacement for professional medical treatment. Deep cuts, broken bones, difficulty breathing, chest pain, signs of a severe allergic reaction, or any injury that seems serious require emergency care immediately. Call 911 or get to an emergency room rather than attempting to manage these situations at home.
Choosing the right container and location
The container matters more than most people expect. A kit stored in a bathroom cabinet is convenient but humidity can degrade supplies faster. A sturdy, latching plastic box kept in a cool, dry location works well for most households. Label the outside clearly so every family member can find it without asking.
If your home has multiple floors, consider a smaller secondary kit for the upstairs. Families who camp or spend time outdoors may want a separate portable version. Whatever the setup, every adult in the household should know where the kit lives and how to open it.
Latching plastic storage box
Keeps supplies contained, dry, and protected; a secure latch prevents spills if the kit is bumped or moved.
Small zip bags or elastic bands
Organizes items by category inside the kit so you can find what you need without unpacking everything.
Permanent marker
Labels the outside of the container and can be used to write the refill date on replacement items.
Calendar or phone reminder
Prompts a review of the kit every six months so expired or depleted supplies get replaced on schedule.
Good organization inside the kit matters too. Group items by category using small zip bags or elastic bands. Put the emergency information sheet and medications on top so they are the first things visible when the lid opens. Keeping your family's medical records organized can complement what you store in the kit, especially if a family member has a chronic condition or takes prescription medications.
Keeping the kit current
A kit built once and never touched is a false sense of security. Set a calendar reminder every six months, a good time is when clocks change in spring and fall, to go through every item. Check expiration dates on medications and ointments, replace depleted supplies, and update the emergency contact sheet if anything has changed.
Also revisit the kit when your household changes: a new baby, an elderly relative moving in, or a family member diagnosed with a condition that requires specific supplies. Each change may mean adding or swapping items. For instance, pediatric dosing tools are worth adding when young children are in the home, and they should come out or be updated as kids grow.
This article is for general informational purposes only and is not medical advice. Consult a qualified healthcare professional for any medical concerns, symptoms, or emergencies.