

| Typical caulk tube cost | $3 to $10 (General hardware store pricing) |
| Grout sealer coverage | 50 to 100 sq ft per bottle (Manufacturer product specifications) |
| Recommended grout resealing frequency (wet areas) | Once per year (General tile industry guidance) |
| Best paint sheen for bathrooms | Satin or semi-gloss (Paint manufacturer formulation guidelines) |
| Caulk removal tool type | Utility knife or plastic scraper |
| Common DIY-friendly finish repair tasks | Caulk replacement, grout sealing, touch-up painting |
Why small finishes carry big protective weight
Paint, caulk, and grout are not decorative extras. Each one is a working layer that blocks moisture, seals gaps, and slows surface deterioration. When any of them fails, water finds a path. Water damage in walls, subfloors, and framing is consistently among the more expensive home repairs a family faces.
The cost to maintain these finishes is low. A tube of silicone caulk typically runs a few dollars. A quart of interior paint covers small touch-up jobs many times over. Grout repair products are sold in small quantities at hardware stores for under ten dollars. Ignoring a cracked caulk bead or pitted grout line, however, can eventually produce mold remediation bills, tile replacement, or subfloor repairs that run into the hundreds or thousands of dollars.
This is general home maintenance information, not a substitute for professional assessment if you suspect structural or water damage is already present.
See the full seasonal maintenance checklist for a broader schedule of tasks that protect your home year-round.
Caulk
A flexible sealant applied to joints and gaps to block water, air, and pests from passing through. Common types include silicone (waterproof, used in wet areas) and latex (paintable, used in dry areas).
Grout
A cement-based filler used to fill the joints between tiles. It holds tiles in alignment and, when sealed, prevents moisture from reaching the substrate beneath.
Grout sealer
A penetrating or surface-coating product applied to finished grout to reduce porosity and slow moisture absorption. It needs to be reapplied periodically based on wear.
Substrate
The underlying material a finish is applied over, such as drywall, cement board, or wood. Substrate damage is usually more expensive to repair than surface finish damage.
Paint sheen
The level of gloss in a dried paint film. Higher-sheen finishes (satin, semi-gloss, gloss) are more moisture-resistant and easier to clean than flat or matte finishes.
Curing time
The period after application during which a sealant or coating reaches its full strength and waterproofing capacity. Exposing the material to water before it cures can prevent it from bonding correctly.
Caulk: where to check and what to look for
Caulk does its job silently until it stops working. The places that need attention most often are bathtubs and shower pans (where the tub meets the wall), window frames on exterior walls, the joint where countertops meet the wall, and the perimeter of exterior door frames.
Signs that a caulk line needs replacing include visible cracking, shrinkage pulling away from one surface, discoloration that does not clean off, or a soft, spongy texture. Mold growing inside or behind the caulk bead is a clear sign water has already been getting through.
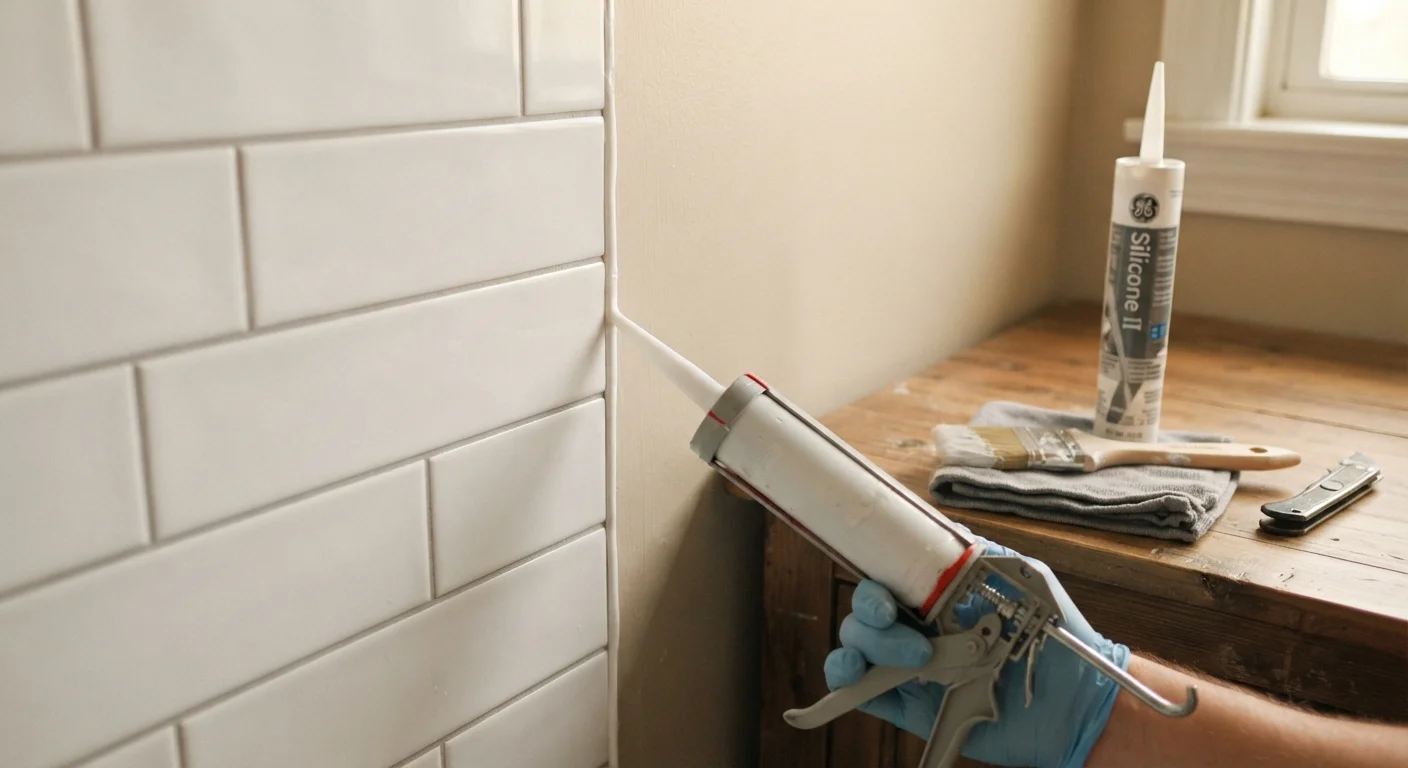
Removing old caulk before applying new material matters. Caulking over a failing bead rarely holds long-term because the new layer has no solid bond. A utility knife or plastic caulk removal tool works for most applications. After removal, the surface needs to be dry before the new caulk goes on. Curing times vary by product type; follow the manufacturer's instructions before exposing the area to water.
For exterior joints and window seals, a room-by-room weatherproofing review before cold weather arrives is a practical time to catch failing caulk that may also be letting cold air into the home.
Grout: maintenance that most homeowners skip
Grout is porous by default unless it has been sealed. Unsealed grout in wet areas absorbs moisture, which leads to mold growth in the grout itself and, over time, weakening of the bond holding tiles in place. A tile that moves underfoot or sounds hollow when tapped is usually a sign that moisture has already compromised the adhesive layer underneath.
Sealing grout in kitchens and bathrooms is a low-cost, low-skill task that most homeowners can do themselves. The sealant is applied with a small brush or foam applicator, allowed to penetrate, and then wiped off. Most grout sealers are available for under fifteen dollars. How often resealing is needed depends on the traffic the area gets, but once a year in heavy-use bathrooms is a common general guideline.
Cracked or crumbling grout lines should be re-grouted rather than just sealed. A grout saw or oscillating tool removes the old material, and pre-mixed grout can fill joints in small repair areas without mixing powder. Allow grout to cure fully before sealing it.
| Typical caulk tube cost | $3 to $10 (General hardware store pricing) |
| Grout sealer coverage | 50 to 100 sq ft per bottle (Manufacturer product specifications) |
| Recommended grout resealing frequency (wet areas) | Once per year (General tile industry guidance) |
| Best paint sheen for bathrooms | Satin or semi-gloss (Paint manufacturer formulation guidelines) |
| Caulk removal tool type | Utility knife or plastic scraper |
| Common DIY-friendly finish repair tasks | Caulk replacement, grout sealing, touch-up painting |
Paint as a protective coating, not just a color choice
Interior paint in kitchens and bathrooms wears faster than paint in dry living areas because humidity and steam soften the film over time. When the paint film breaks down, bare drywall or plaster beneath absorbs moisture. Bathroom ceilings and the wall area directly above bathtubs are the most common places this happens.
Using paint formulated for high-moisture areas in those rooms is more durable than standard flat or eggshell finishes. The sheen level also matters: satin and semi-gloss finishes are easier to wipe clean and shed moisture better than matte finishes in wet zones.
For exterior paint, surface prep determines how long the coating lasts. Peeling or bubbling exterior paint is almost always a sign of moisture getting behind the film, either from outside or from interior condensation moving through the wall. Scraping, priming bare wood, and caulking gaps before repainting produces a finish that lasts. Painting over peeling paint without addressing the cause typically fails within a season or two.
Many of these same finish-protection steps apply when deciding which repairs to tackle yourself and which to hire out. Surface prep work is generally DIY-friendly; identifying the source of moisture that caused the failure sometimes requires a professional eye.
This article is for general home maintenance information only. If you suspect water damage, mold, or structural issues in your home, consult a qualified contractor or inspector.