

Key Takeaways
Why saving seeds makes financial sense
Seed packets add up fast. If you grow tomatoes, peppers, squash, beans, and a few herbs, you can easily spend $30 or more on seeds every spring. Saving seeds from your own garden eliminates most of that cost and gives you a supply that can last several seasons when stored correctly.
The savings compound over time. A single dry bean plant can yield dozens of seeds. A tomato produces hundreds. Once you build a seed stock, your annual seed budget can drop close to zero for the crops you save regularly. For a closer look at when buying seeds versus purchasing transplants makes financial sense, see Seeds vs. Transplants: Which Saves More Money in the Long Run.
There is one rule that matters above all others: only save seeds from open-pollinated or heirloom varieties. Seeds from hybrid plants (often labeled F1 on the packet) will not reliably produce offspring that match the parent. If you are unsure whether your plants qualify, check the original seed packet or catalog description before investing time in the process.
Save from your best performers
Each year, save seeds only from the plants that produced the most fruit, resisted disease best, or handled your local weather well. Over several seasons, you naturally select for traits that suit your specific garden conditions. This gradual selection costs nothing and can improve your harvests without any extra inputs.
How to harvest, dry, and store seeds
The process breaks into three stages: harvesting at the right time, drying thoroughly, and storing in the right conditions. Skipping or rushing any stage reduces how long seeds stay viable and how well they germinate next season.
What you will need
Choose plants and let them fully ripen
Select the healthiest, most productive plants in your garden. Allow the fruit or seed pod to stay on the plant well past the eating stage. Tomatoes should be soft and deeply colored. Bean and pea pods should be dry and rattling on the vine. Flower seed heads should be brown and papery. The goal is biological maturity, not culinary ripeness.
Harvest the seeds
Cut seed pods, flower heads, or whole fruits from the plant. For dry seeds (beans, peas, squash, most flowers), open pods over a bowl or paper bag and shake or press seeds free. For wet seeds (tomatoes, cucumbers), scoop seeds and gel into a small jar, add water, and let the mixture ferment at room temperature for two to three days. The viable seeds will sink; skim off the floating material, drain, and rinse the seeds that settled to the bottom.
Dry the seeds completely
Spread seeds in a single layer on a coffee filter, paper plate, or clean paper towel. Place them in a warm, well-ventilated spot away from direct sunlight. Stir or turn them once a day. Most seeds need one to two weeks to dry fully. They are ready when they snap cleanly rather than bending or denting when you press them.
Package and label for storage
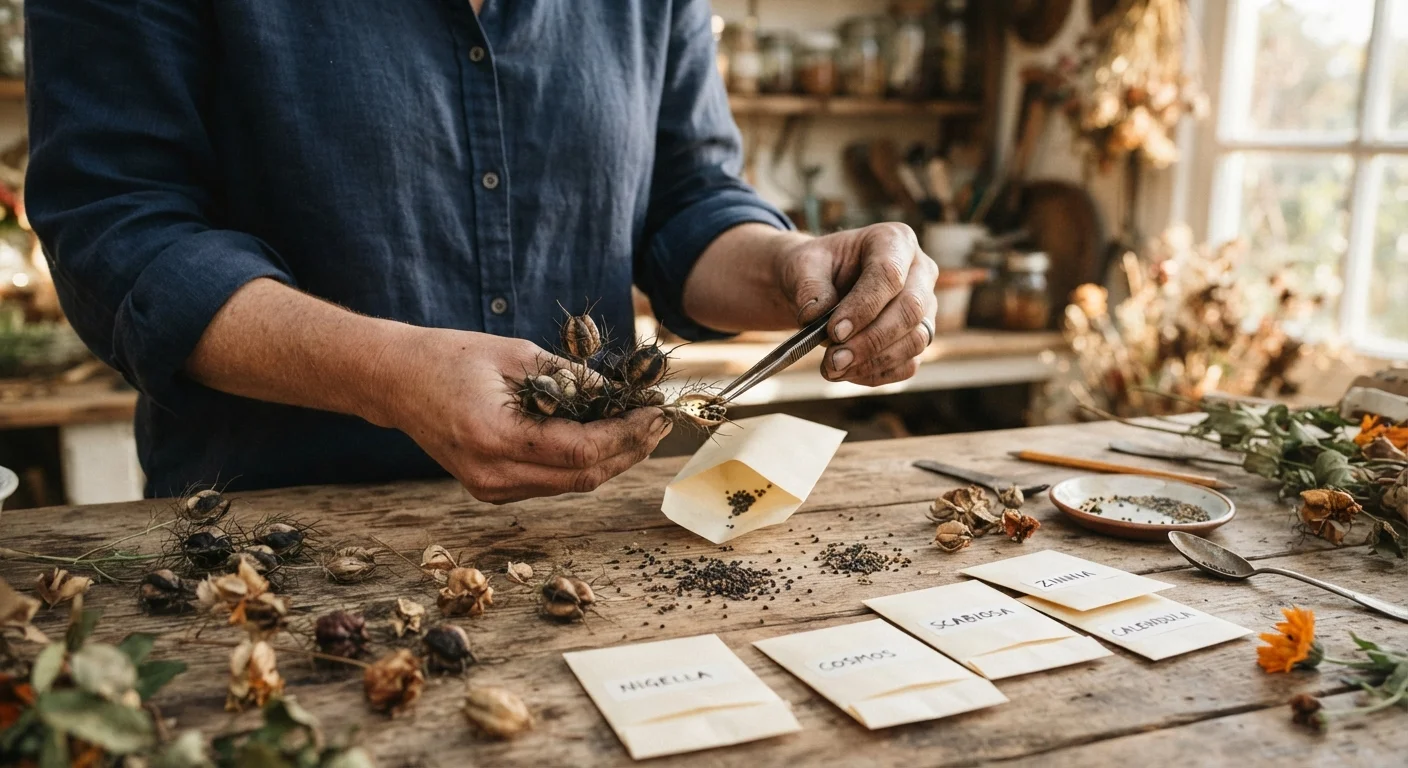
Once fully dry, move seeds into small paper envelopes or glass jars with tight lids. Write the plant name, variety, and collection date on the container. If storing multiple varieties in one jar, place each type in its own labeled envelope first, then layer envelopes inside the jar. Adding a small silica gel packet to the jar helps absorb any residual moisture.
Test germination before planting season
About four to six weeks before you plan to plant, place ten seeds from a packet between two damp paper towels, seal them in a plastic bag, and keep them at room temperature. Check after the number of days listed as germination time for that crop. If fewer than six out of ten sprout, the batch has low viability and you may need to source fresh seeds or sow more densely to compensate.
Once seeds are stored, keep them somewhere consistently cool, dark, and dry. A cupboard away from the stove or a refrigerator in an airtight container both work well. Avoid garages or sheds where temperature and humidity fluctuate widely. Most vegetable seeds stored well will remain viable for two to five years, though germination rates do decline gradually over time.
Pairing seed saving with thoughtful crop planning amplifies the financial benefit. See Vegetables That Give You the Most Food Per Dollar Spent for guidance on which crops to prioritize, and Seasonal Planting Calendar for Budget-Minded Home Gardeners for timing your plantings to reduce waste. If you are thinking about the broader picture of what to replant each year, Perennials vs. Annuals: Planning Your Garden to Spend Less Each Spring covers how your choice of plant types affects annual costs.